
To retrofit your existing fan with a Wi-Fi module, start by checking if your fan is compatible and safe to modify. Turn off the power and carefully access the wiring. Choose a suitable Wi-Fi module that integrates with your smart home system, then connect it securely following the manufacturer’s instructions. After setup, you can customize controls and automate your fan’s operation. Keep in mind, proper installation guarantees safety and stability—learn more about the detailed steps ahead.
Key Takeaways
- Assess fan compatibility, wiring, and condition before installing a Wi-Fi module.
- Choose a compatible Wi-Fi module that supports firmware updates and integrates with your smart home system.
- Gather necessary tools and safely connect the Wi-Fi module to the fan’s wiring following manufacturer instructions.
- Configure the fan using the app to set schedules, speeds, and voice control options.
- Test the setup, troubleshoot connectivity issues, and keep firmware updated for optimal performance.
Assessing Your Ceiling Fan for Compatibility
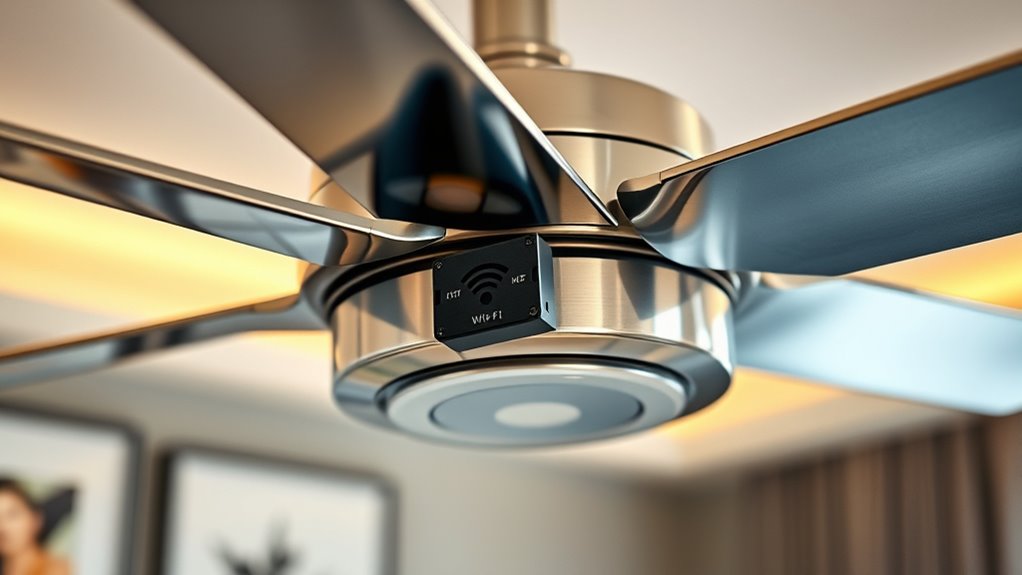
Before you begin retrofitting your ceiling fan with a Wi-Fi module, it’s important to determine if your fan is compatible. Start by inspecting the fan blades; verify they are securely attached and free of damage, as loose or worn blades can interfere with fan blade maintenance and overall performance. Check if your fan operates with a standard pull chain or switch, since some smart modules require specific wiring or control options. Additionally, consider the ceiling fan aesthetics—older or overly ornate fans might not suit modern Wi-Fi controls or look out of place after the retrofit. Confirm that your fan’s motor and mounting system are in good condition. Compatibility isn’t just about the hardware; ensuring your fan’s setup aligns with the Wi-Fi module’s requirements will save you time and frustration later. Proper wiring and control systems are essential for smooth integration with smart modules, ensuring reliable operation.
Choosing the Right Wi‑Fi Module
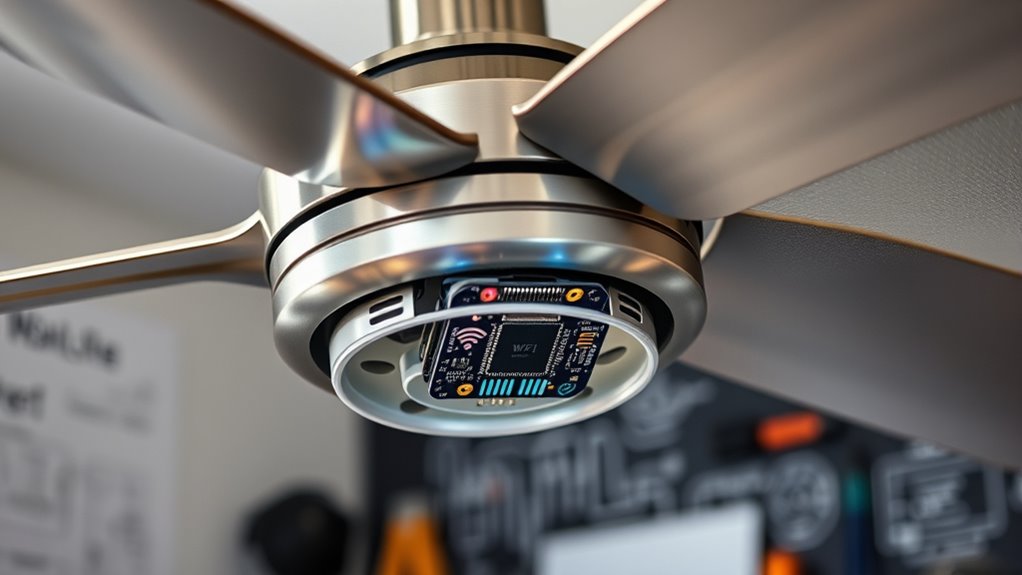
Choosing the right Wi‑Fi module is crucial to guarantee seamless integration with your existing ceiling fan. You need to take into account compatibility with your fan’s wiring and motor type, and ensure it supports your preferred wireless protocols like Wi-Fi 2.4 GHz or 5 GHz. Look for modules that offer easy firmware updates to keep your system secure and feature-rich. Additionally, check if the module supports your home automation platform, such as Alexa or Google Home. Considering yoga practices and techniques can also help in reducing stress and creating a calm environment, which is beneficial when managing smart home systems.
Gathering Necessary Tools and Materials

Before starting, make sure you have a tools and components checklist ready. You’ll need specific tools and materials that match your Wi-Fi module’s compatibility and specifications. Having everything on hand will help streamline the retrofit process and avoid unnecessary delays. Additionally, understanding maintenance tips for air purifiers can be helpful if you plan to incorporate air quality monitoring into your retrofit project.
Tools and Components Checklist
To retrofit your existing fan with a Wi‑Fi module, you’ll need to gather a few essential tools and components. Ensuring you have the right items makes setup smoother and supports reliable smart home integration. Focus on components compatible with various wireless protocols like Wi-Fi or Zigbee for seamless connectivity.
Here’s your checklist:
- Wi‑Fi enabled microcontroller or adapter
- Power supply compatible with your fan
- Basic tools: screwdriver, wire strippers
- Mounting hardware and connectors
Having these tools and components ready allows you to efficiently install the Wi‑Fi module, enabling remote control and automation. This step is vital for integrating your fan into your smart home ecosystem while maintaining stable wireless protocols for consistent performance.
Compatibility and Specifications
Ensuring your Wi-Fi module is compatible with your existing fan requires checking its specifications and supported protocols. First, review the fan’s power requirements and connector types to confirm physical compatibility. Next, verify the wireless protocols the Wi-Fi module supports, such as Wi-Fi 2.4 GHz or 5 GHz, to ensure it syncs with your home network. Device compatibility is essential; not all modules work with every fan model or brand. Check the manufacturer’s documentation for compatibility lists or recommended modules. Confirm that the module supports your preferred control app or smart home system. Additionally, understanding the fan’s design and features can help you select a compatible Wi-Fi module that integrates seamlessly. By carefully matching these specifications, you prevent installation issues and guarantee seamless remote control. Proper compatibility guarantees your retrofit project works smoothly without unexpected technical hurdles.
Turning Off Power and Accessing the Fan Wiring
Before working on your fan, make sure to turn off the power supply to avoid shocks. Then, carefully access the fan wiring, following safety precautions to safeguard yourself. Taking these steps ensures a safe and smooth retrofit process. Additionally, understanding the security considerations around IoT devices like Wi-Fi modules can help protect your network from potential vulnerabilities.
Turn Off Power Supply
Since working with electrical components can be dangerous, it’s essential to turn off the power supply before accessing the fan wiring. To prevent shocks or accidents, make sure there’s no power running to the fan. First, locate your circuit breaker panel. If possible, shut off the breaker that controls the fan circuit to create a power outage in that area. This step ensures safety during the retrofit process. Remember, never work on live wires. Before proceeding, double-check that power is off using a voltage tester. Keep these tips in mind:
- Identify the correct circuit breaker controlling your fan
- Turn off the circuit breaker to create a power outage
- Confirm power is off with a voltage tester
- Never work on electrical wiring while the circuit is live
Taking these precautions keeps you safe throughout the retrofit process.
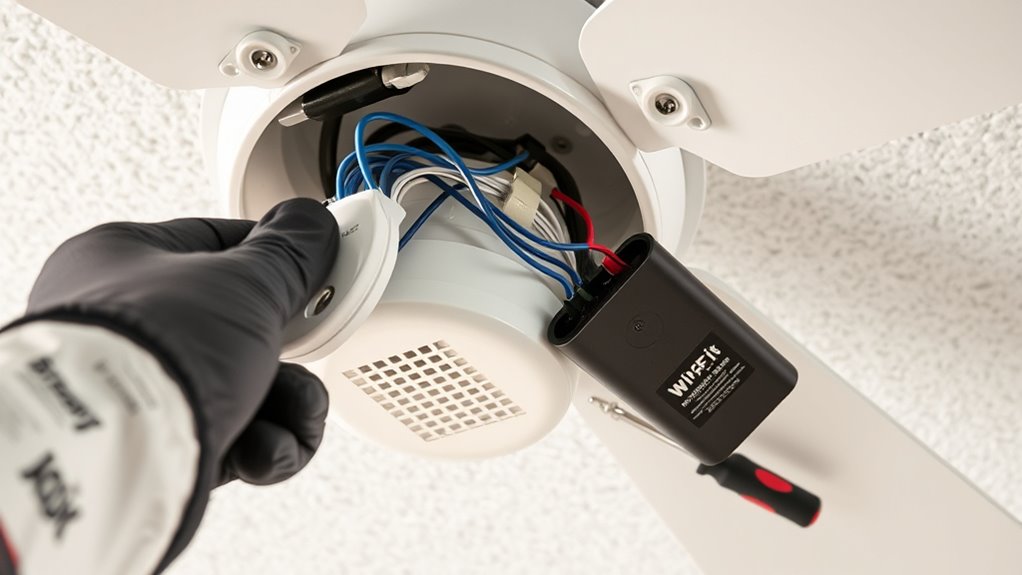
Access Fan Wiring
After turning off the circuit breaker and confirming the power is off with a voltage tester, you can access the fan wiring. Carefully remove the fan’s canopy cover to expose the wiring connections. Locate the wires connected to the fan motor, typically black (hot), white (neutral), and green or copper (ground). If your fan has a remote control receiver, it’s usually connected near the fan motor or inside the canopy. Take note of how the wires are connected or take a photo for reference. Use wire nuts to disconnect the existing wiring if needed. Be cautious and gentle to avoid damaging the wires. Once exposed, you’re ready to install the Wi‑Fi module, ensuring the wiring is accessible and correctly identified for a seamless retrofit. Understanding electrical safety is essential before proceeding with any wiring modifications.
Ensure Safety Precautions
Always turn off the power supply to the fan at the circuit breaker before beginning any work. This is essential for electrical safety and prevents accidental shocks. Before accessing the wiring, double-check that the power is off with a voltage tester. Remember, tool safety is important—use insulated tools to avoid electrical hazards. Keep these tips in mind:
- Confirm power is completely shut off before touching any wires
- Wear insulated gloves and safety goggles for added protection
- Work in a well-lit area to see wiring clearly
- Keep your workspace organized to avoid accidents
- Be aware of local electrical safety regulations and compliance requirements to ensure proper procedures are followed.
Taking these precautions ensures your safety while working on the fan. Never skip turning off the power or ignoring safety guidelines, as electrical work can be dangerous if not handled properly.
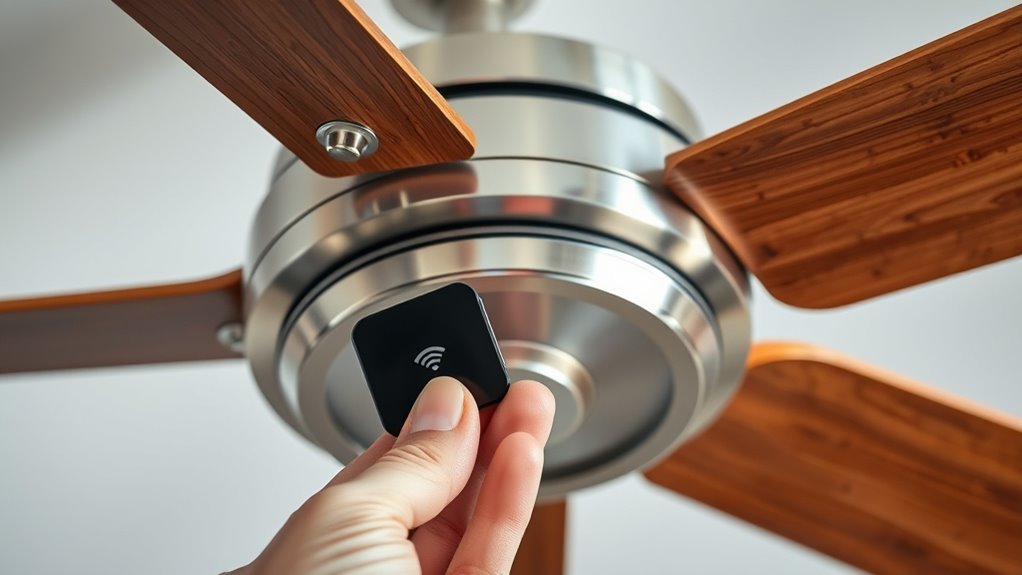
Connecting the Wi‑Fi Module to Your Fan
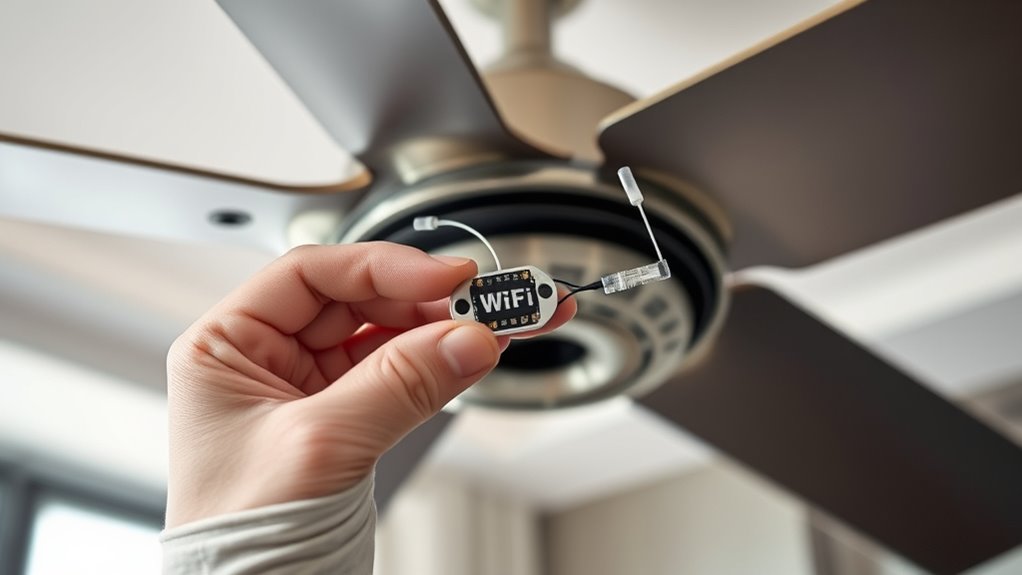
Connecting the Wi‑Fi module to your fan is a straightforward process that guarantees seamless communication between the device and your home network. First, identify the compatible wireless standards—most modules support Wi-Fi 2.4 GHz or dual-band 2.4/5 GHz—and verify your router matches these standards. Power off the fan and carefully connect the Wi‑Fi module to the fan’s control port, following the manufacturer’s instructions. Once connected, turn the fan back on and verify the module’s indicator lights. It’s important to check for any firmware updates for the Wi‑Fi module before proceeding, as updates can fix bugs and improve connectivity. Proper connection and up-to-date firmware ensure your fan will integrate smoothly into your smart home system. Additionally, reviewing privacy policies and cookie management can help you understand how your data is protected during device setup and operation.
Configuring the Smart Fan Settings and App Integration
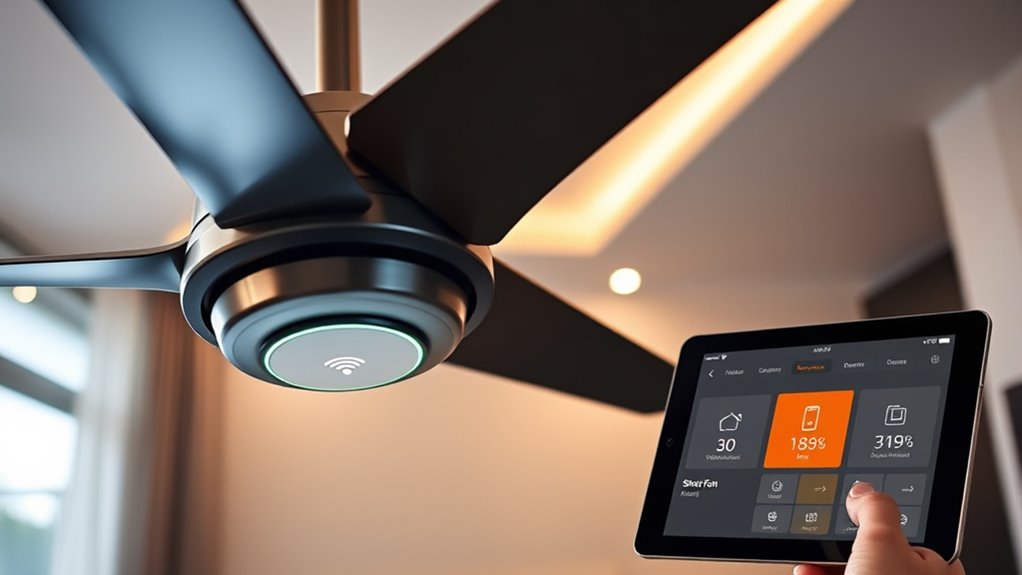
Once you’ve connected the Wi‑Fi module, the next step is to configure your smart fan settings through the app. This allows you to customize the fan’s operation for maximum energy efficiency and seamless voice control. Open the app and explore the settings menu, where you can:
- Set schedules to turn the fan on or off automatically
- Adjust fan speed levels for ideal comfort
- Enable voice control features with compatible assistants
- Monitor energy consumption to reduce power use
- Review product authenticity and verify official certifications to ensure you’re using genuine, high-quality components from trusted brands like Patchology.
Testing and Troubleshooting Your Upgraded Fan

After completing the setup, it’s important to test your upgraded fan to guarantee everything works correctly. Begin by checking the wireless connectivity; ensure your fan connects reliably to your Wi-Fi network without interruptions. Use the app to test basic functions like turning the fan on and off, adjusting speeds, and setting timers. If the fan doesn’t respond, troubleshoot your network connection or restart your Wi-Fi router. Additionally, verify that firmware updates have been been installed; keeping firmware current ensures compatibility and access to new features. Color accuracy can also impact the overall performance of your smart device, so consider calibration if you notice display issues. If issues persist, reset the fan and reconfigure the Wi-Fi settings. Proper testing minimizes future problems and confirms your retrofit was successful, giving you peace of mind with your smart, Wi-Fi-enabled fan.
Frequently Asked Questions
Will Retrofitting Affect My Fan’S Warranty or Safety Certifications?
Warranty concerns and safety certifications are valid questions when retrofitting your fan. Generally, adding a Wi-Fi module might void your warranty if it’s not an approved modification, so check with the manufacturer first. However, if the retrofit is done correctly and meets safety standards, it shouldn’t affect safety certifications. Always follow proper installation procedures to ensure your fan remains safe and compliant with any warranties.
Can I Retrofit Multiple Fans With a Single Wi‑Fi Module?
Think of your fans as a choir—each needs to be in harmony. You can retrofit multiple fans with a single Wi-Fi module if they share compatible features; however, fan compatibility and retrofit cost vary. You’ll want to check each fan’s specs first, as some may require individual modules. This approach can save money, but guarantee it doesn’t compromise functionality or safety, especially if the fans are different models.
How Does Wi‑Fi Integration Impact Fan Noise Levels?
Wi-Fi integration generally doesn’t increase your fan’s sound levels or motor noise considerably. When you retrofit your fan with a Wi-Fi module, it mainly adds smart control features without altering the motor’s mechanics. However, if the fan’s electronics are poorly fitted or cause vibrations, you might notice slight increases in noise. Overall, good quality retrofits keep sound levels steady, letting you enjoy quiet operation with the convenience of smart tech.
Is Professional Installation Recommended for Complex Wiring Setups?
For complex wiring setups, professional installation is highly recommended. You want to make certain your wiring meets safety standards and functions correctly, which can be tricky if you’re not experienced. A professional electrician handles the wiring safely, reduces risks, and ensures the Wi-Fi module integrates properly with your existing fan. This way, you’ll avoid potential hazards and enjoy reliable, smart control without any worries about safety or technical issues.
What Are the Security Considerations for Smart Fan Wi‑Fi Modules?
When considering security for your smart fan Wi-Fi module, prioritize protecting your privacy. You should use strong network encryption to fortify your connection and ensure device authentication to verify trusted devices. This prevents potential hackers from hijacking your fan or accessing your network. Staying vigilant with updated firmware and secure passwords keeps your smart setup safe and sound, shielding your space from security snares and safeguarding your smart home’s serenity.
Conclusion
By retrofitting your ceiling fan with a Wi‑Fi module, you’re bringing your home into the modern age. With a little effort, you can turn a traditional fixture into a smart device that’s easier to control and more energy-efficient. Remember, patience pays off, and once you’ve finished, you’ll wonder how you ever managed without this upgrade. Embrace the future of comfort — it’s better to be safe than sorry when it comes to smart tech.