
Installing an outdoor ceiling fan involves several costs. You’ll need to buy a fan, which can range from budget-friendly to premium models, and pay for installation—either doing it yourself or hiring a professional, typically costing $50 to $200. Plus, account for tools, mounting hardware, weatherproofing materials, and possibly rental fees. Overall, expect a total investment from a few hundred dollars to over $1,000. Continue to learn how each step impacts your long-term outdoor comfort and savings.
Key Takeaways
- Determine fan cost based on size, features, and energy efficiency, ranging from basic models to premium options.
- Calculate installation costs, which can be DIY for free or $50-$200 for professional setup.
- Account for materials like mounting hardware, weatherproofing supplies, and necessary tools or rentals.
- Total expenses include both the fan purchase and installation, influencing overall budget from a few hundred to over a thousand dollars.
- Consider long-term savings through energy-efficient operation and proper installation to maximize durability and outdoor comfort.
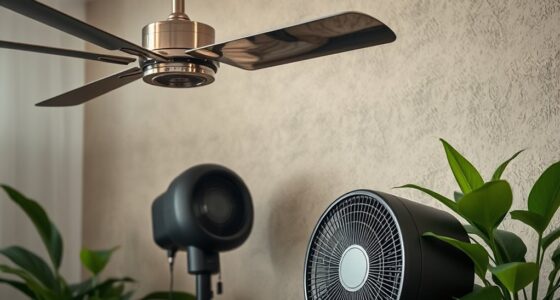
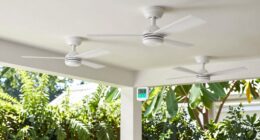
Have you ever wondered where your money really goes when you decide to install an outdoor ceiling fan? Knowing the cost breakdown helps you plan better and avoid surprises. The process starts with choosing the right fan, which varies in price depending on size, style, and features. Basic models are more affordable, while premium fans with added features like dimmable lights or smart controls cost more. When considering energy savings, investing in an energy-efficient fan can lower your electricity bills in the long run, making the initial expense worthwhile. Keep in mind, a well-chosen fan with appropriate size and features can improve outdoor comfort and reduce cooling costs inside your home.
Understanding the true costs of outdoor ceiling fans helps you plan smarter and save money long-term.
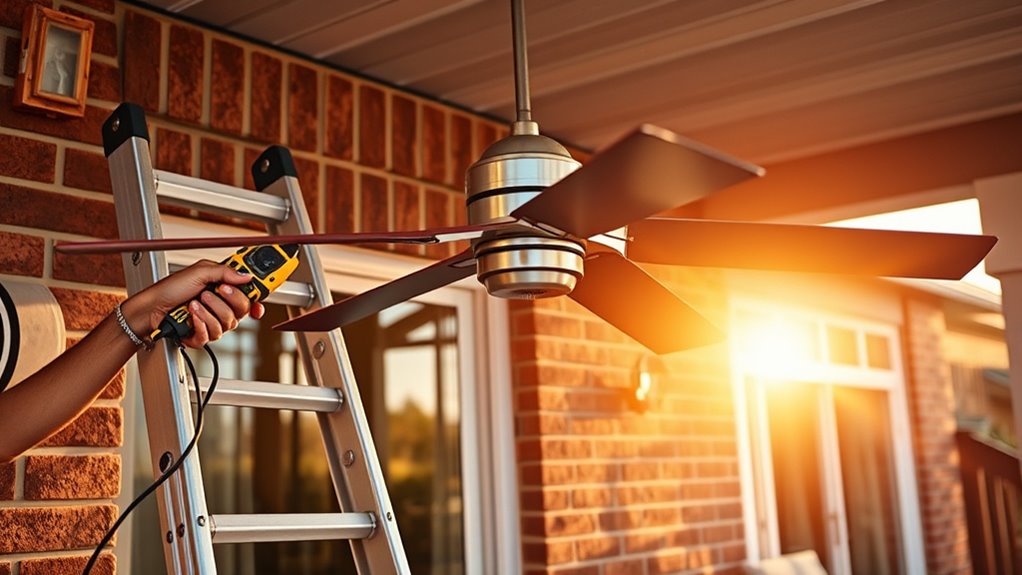
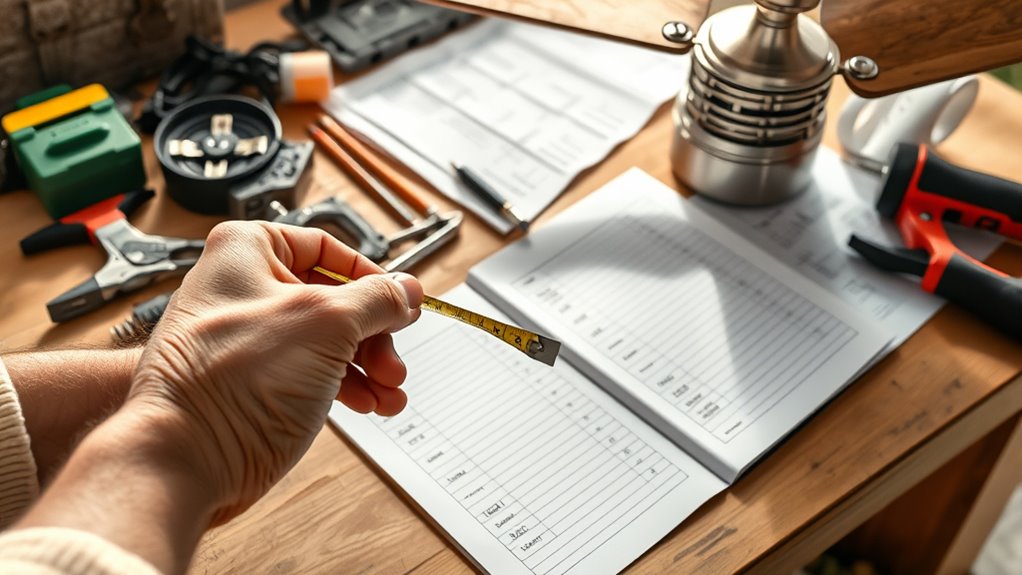
The next major expense involves the installation itself. If you’re handy and have some electrical experience, you might save money by installing the fan yourself. However, if you’re unsure about wiring or mounting, hiring a professional guarantees safety and proper setup. Installation tips include verifying the existing electrical box can support the fan’s weight and ensuring it’s securely mounted to prevent wobbling. The labor cost will depend on your location and whether you’re doing it yourself or hiring a handyman or electrician. Expect to pay anywhere from $50 to $200 for professional installation, which often includes mounting, wiring, and testing the fan.
Materials and supplies also add to the overall cost. You’ll need basic tools like a drill, screwdriver, and possibly a ladder, but these are often already in your toolbox. If not, purchasing or renting them adds a small expense. Don’t forget to buy the necessary mounting hardware and possibly weatherproofing materials like sealants or outdoor-rated wire connectors, which are vital for outdoor durability and safety. These small but essential items ensure your fan remains secure and functional in outdoor conditions. Additionally, considering Glycolic Acid benefits for skin care, such as its exfoliating and collagen-boosting properties, can be a great addition to your routine, but it’s unrelated to outdoor fan installation.
In total, the cost to install an outdoor ceiling fan ranges from a few hundred dollars for a basic DIY project to over a thousand if you opt for high-end fans and professional installation services. Budgeting wisely involves considering not just the initial purchase price but also installation tips that maximize energy savings. An efficient fan, installed correctly, can considerably reduce cooling costs during hot months, paying for itself over time. Understanding this breakdown helps you make smarter choices, balancing upfront costs with long-term savings, and ultimately enjoying a cooler, more comfortable outdoor space.
Frequently Asked Questions
Can I Install an Outdoor Ceiling Fan Myself?
You can install an outdoor ceiling fan yourself if you’re comfortable with electrical work and have the right tools. Follow DIY tips like turning off the power, checking the ceiling box’s strength, and reading the manufacturer’s instructions carefully. Always prioritize safety precautions, such as wearing gloves and goggles, and make sure you understand wiring connections. If you’re unsure or uncomfortable, it’s best to hire a professional to avoid risks.
What Permits Are Required for Outdoor Ceiling Fan Installation?
You need to check if electrical permits are required in your area before installing an outdoor ceiling fan. Building codes often specify safety standards and may mandate permits for electrical work. Contact your local building department or licensing authority to verify if you need a permit, and follow their guidelines. This ensures your installation complies with regulations, keeps you safe, and avoids potential fines or issues during inspections.
How Long Does Professional Installation Typically Take?
Installing an outdoor ceiling fan is like orchestrating a symphony—timing is everything. Typically, a professional takes about 2 to 4 hours, depending on the complexity. They’ll handle electrical wiring and guarantee power sources are correctly connected and safe. The process involves mounting the fan, wiring it securely, and testing its operation. Your part? Just sit back and enjoy the cool breeze once everything’s humming smoothly.
Are There Specific Safety Considerations for Outdoor Fans?
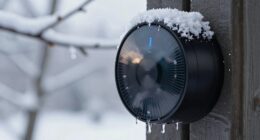
You should prioritize weatherproofing concerns and electrical safety when installing outdoor fans. Make sure the fan is rated for outdoor use and protected against moisture and weather elements. Check that all electrical connections are secure and properly grounded to prevent shocks. Use waterproof covers for switches and outlets, and ensure the fan’s wiring conforms to safety codes. Taking these precautions helps keep you safe and the fan functioning well in outdoor conditions.
What Maintenance Is Needed After Installation?
You’ve got to stay on top of things, so regular maintenance keeps your outdoor fan running smoothly. Clean the fan blades periodically to prevent dust buildup, and check for debris that might cause wobbling. Weatherproofing tips include inspecting seals and ensuring the fixture is protected from rain and moisture. This simple upkeep prevents bigger problems down the road, so your outdoor fan stays cool and reliable year-round.
Conclusion
So, next time you decide to install that outdoor ceiling fan, remember how the costs surprisingly add up—just like the perfect breeze it’ll bring. It’s funny how a simple project can reveal hidden expenses, isn’t it? But with a clear understanding, you’ll be ready to tackle it confidently. After all, a little planning now can turn this coincidence into a breeze of an upgrade, making your outdoor space more comfortable and stylish than ever.