To install a ceiling fan on your pergola without hiring an electrician, start by gathering essential tools like wire strippers, a voltage tester, screwdrivers, and hardware. Next, choose a safe, open spot on the pergola, turn off the power, and double-check that it’s off. Install the mounting bracket, connect the wiring properly, secure the fan, and test it. If you follow these steps, you’ll create a cool, stylish outdoor space—discover more tips as you continue.
Key Takeaways
- Turn off power at the circuit breaker and verify with a voltage tester before starting electrical work.
- Select a safe, obstruction-free site on your pergola and gather all necessary tools and parts.
- Install the mounting bracket securely to a support beam, then connect wiring following color codes and safety practices.
- Attach the ceiling fan to the bracket, ensure it’s level, and test operation at all speeds for wobble or noise.
- Finalize wiring, secure all covers, and confirm smooth remote or switch control for safe, efficient operation.
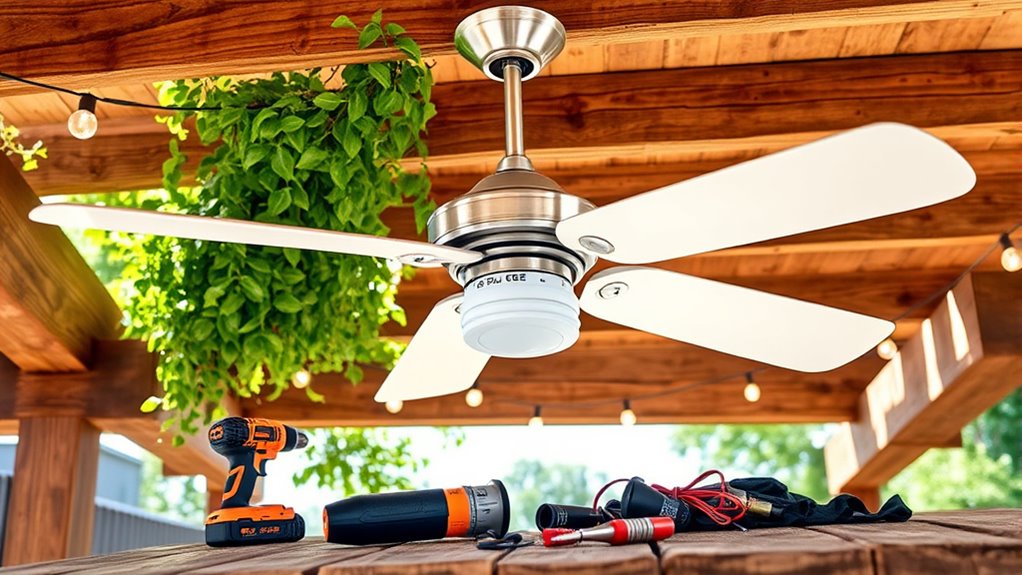
Gather Your Tools and Materials

Before you begin installing your ceiling fan on the pergola, it is vital to gather all the necessary tools and materials. Ensuring electrical safety starts with having the right equipment, including a voltage tester, wire strippers, screwdrivers, and pliers. Check that your tools are in good condition—proper tool maintenance prevents accidents and makes the job easier. You’ll also need the ceiling fan, mounting bracket, electrical box rated for fans, and hardware. Keep a ladder nearby and consider using safety gloves. Double-check that you have all parts before starting to avoid interruptions. Properly organized tools and materials help you work efficiently, while attention to electrical safety minimizes risks during installation. Being prepared sets a solid foundation for a successful DIY project. Additionally, understanding celebrity lifestyle insights can inspire your outdoor living space design, blending functionality with aesthetics.
Choose the Perfect Location on Your Pergola

Selecting the right spot on your pergola is crucial for maximizing airflow and ensuring safety. Consider your pergola layout and identify an open area that allows for ideal circulation without obstruction. Think about lighting options; placing the fan where it can complement existing lights or allow for future lighting fixtures is perfect. Avoid spots near overhanging branches or tight corners that could hinder airflow or cause safety issues. Make sure the location provides enough clearance from furniture, plants, or other structures. The goal is to mount the fan where it can evenly distribute air while enhancing the overall ambiance. Carefully evaluate the space to find a balance between functionality, safety, and aesthetic appeal, ensuring your pergola remains a comfortable outdoor retreat. Additionally, understanding the art of Italian espresso can inspire a cozy, stylish ambiance that complements your outdoor space.
Turn Off Power and Ensure Safety
To prevent electrical accidents during your DIY ceiling fan installation, it is crucial to turn off the power at the circuit breaker before starting any work. This step ensures electrical safety and minimizes the risk of electric shock. Always verify that the power is completely shut off by testing the wires with a voltage tester. Remember, a proper power shutoff is your first line of defense. Additionally, consulting electrical safety guidelines can help ensure you follow best practices throughout the process.
Install the Mounting Bracket
Installing the mounting bracket is a critical step that provides a secure foundation for your ceiling fan. First, locate the mounting bracket that came with your fan and align it with the pergola’s support beam or crossbar. Use a stud finder or a level to ensure proper positioning. Mark the screw holes with a pencil, then drill pilot holes to prevent wood splitting. Attach the mounting bracket securely using heavy-duty screws or lag bolts, making sure it’s flush and stable. A sturdy mounting bracket is essential for safely supporting the weight of your ceiling fan and reducing wobble. Double-check that the bracket is tightly fastened before proceeding to the next step, ensuring your DIY installation is both safe and durable. Ensuring the bracket is properly anchored also involves considering the weight capacity of the support structure to prevent potential failure.
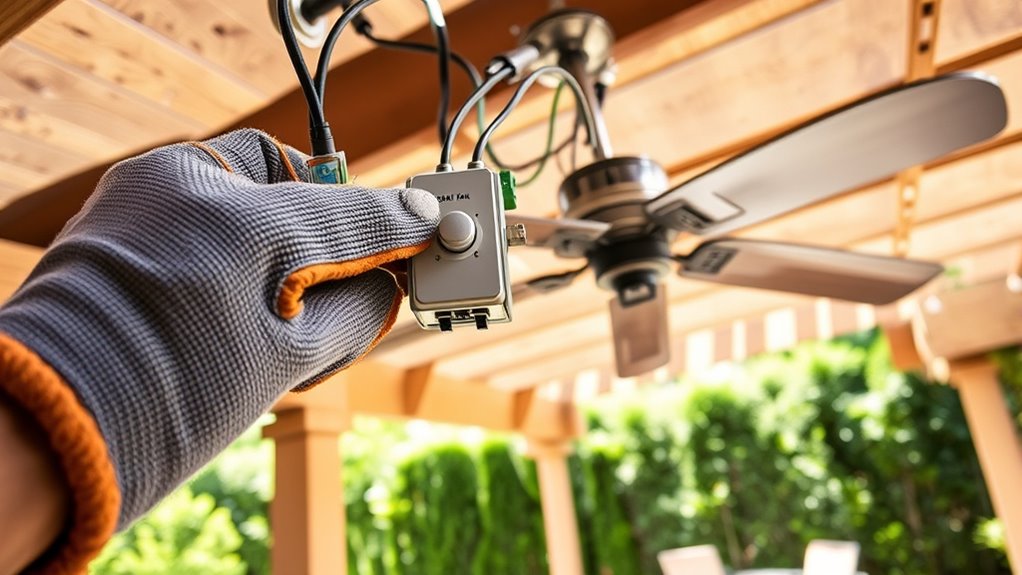
Connect the Wiring Properly

Before connecting the wiring, turn off the power supply at the breaker to guarantee safety. Start by identifying the wires using the wire color coding: typically, black or red for hot wires, white for neutral, and green or bare copper for grounding. Follow the grounding methods recommended for your pergola setup to ensure proper safety. Connect the hot wires from the ceiling fan to the hot wire from your power source, secure them with wire nuts, and wrap with electrical tape if needed. Attach the neutral wires similarly, matching colors. Finally, connect the grounding wire to the grounding screw or terminal on the ceiling fan bracket. Double-check all connections for tightness and correctness before proceeding to secure the fan. Always refer to the essential safety precautions to prevent electrical hazards during installation.
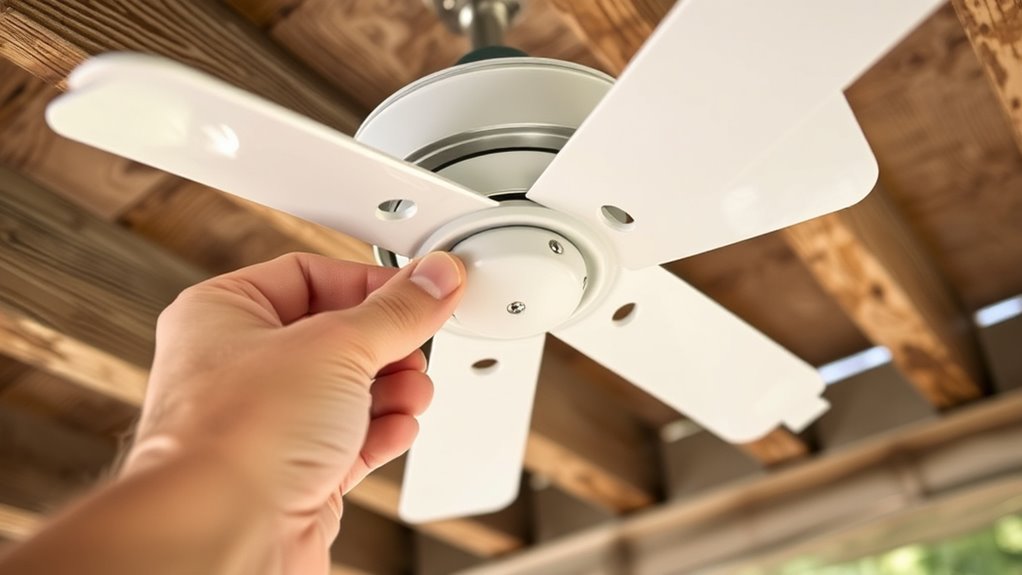
Secure the Fan to the Mounting Bracket
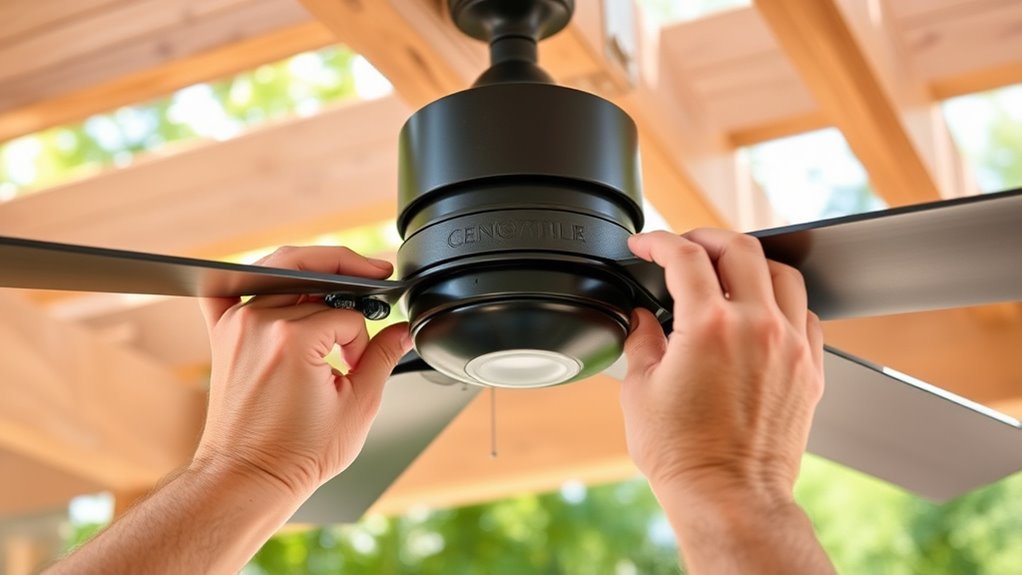
Once you’ve confirmed that all wiring connections are secure, it’s time to attach the fan to the mounting bracket. Begin by aligning the fan’s mounting holes with the support bracket on the ceiling mount. Use the appropriate mounting hardware, such as bolts and nuts, to secure the fan firmly in place. Tighten the hardware carefully, ensuring the fan is level and stable. The support bracket provides the necessary stability, so double-check that it’s properly anchored to the mounting surface before attaching the fan. Be cautious not to overtighten, as this could damage the fan or mounting hardware. Once secured, gently tug on the fan to confirm it’s firmly attached. This step ensures your fan is safely mounted and ready for the next phase of installation.
Test the Fan and Finalize Installation
Now it’s time to test your fan and finalize the installation. Make sure it operates smoothly and check that all safety connections are secure. Finally, adjust the fan settings to your preferred speed and direction for ideal comfort. If your fan is connected to a secure electrical system, ensure all wiring is properly insulated and grounded to prevent any electrical hazards.
Verify Fan Operation
To guarantee your ceiling fan operates correctly and safely, you should turn on the power and test it thoroughly. Start by ensuring the electricity safety measures are in place, like turning off the breaker before handling wires. Once power is restored, turn on the fan and check each fan speed setting to ensure smooth operation at low, medium, and high levels. Listen for unusual noises and observe for wobbling or vibrations. Confirm that the fan responds promptly to the switch or remote control. If everything works as expected, your installation is successful. If not, double-check connections or re-tighten any loose screws. Proper testing guarantees your fan functions safely and efficiently, giving you peace of mind and a cool, comfortable outdoor space. Additionally, verify the fan operation with a functional remote or wall switch to ensure full control.
Check Safety Connections
Before fully finalizing your installation, it’s essential to check all safety connections to guarantee the fan is secure and wired correctly. Ensure that your wiring safety aligns with the electrical code, preventing potential hazards. Inspect the wiring connections at the ceiling mount and fan motor, making sure they’re tight and properly insulated. Confirm that all wire nuts are secure and no exposed wires are visible. Test the electrical circuit by turning on the power and verifying the switch functions correctly. Carefully observe the fan’s operation to ensure it runs smoothly without abnormal noises or wobbling. If anything seems off, turn off the power immediately and double-check your connections. Following these steps helps assure your fan is safe, reliable, and compliant with electrical standards. Additionally, understanding safety connections and proper wiring practices is crucial for a successful DIY project.
Adjust Fan Settings
Once you’ve checked all safety connections, it’s time to test the fan and finalize the installation. Turn on the power and activate the fan. Start by setting the fan speed to your preferred level, whether a gentle breeze or maximum airflow. Observe how the fan operates and make adjustments as needed. If your fan has oscillation features, adjust the oscillation to ensure even coverage of airflow across your pergola area. Pay attention to any wobbling or unusual noises, which might indicate a need for further tightening or balancing. Confirm that all controls respond smoothly and that the fan runs quietly at different speeds. Once satisfied with the settings, secure any remaining covers or screws, and your ceiling fan installation is complete. Additionally, understanding AI integration in devices can help you optimize smart features if your fan includes smart technology.
Enjoy Your Cool Outdoor Space
Now that your ceiling fan is installed, you can truly enjoy your outdoor space. It enhances comfort by creating a breezy atmosphere that keeps everyone cool. With your pergola ready, you’ll maximize outdoor enjoyment during warm days and evenings. Consider adding outdoor lighting to extend your time outdoors into the night.
Enhance Outdoor Comfort
Adding a ceiling fan to your pergola transforms your outdoor space into a comfortable retreat, especially during hot days. It helps you stay cool while enjoying your time outside. To maximize comfort, consider these options:
- Choose lighting options that complement your fan, such as dimmable LED lights, so you can set the perfect mood.
- Select fan blade styles that match your decor, whether sleek and modern or rustic and traditional, to enhance your space’s aesthetic.
- Adjust the fan speed settings for ideal airflow, ensuring you stay comfortable no matter the weather.
With these tips, your outdoor area becomes a more inviting, relaxing spot. The right lighting and blade choices make a noticeable difference, making your pergola a true outdoor sanctuary.
Create a Breezy Atmosphere
Ever wonder how to make your outdoor space truly invigorating on hot days? Installing a ceiling fan on your pergola instantly creates a breezy atmosphere that keeps you comfortable. To enhance this effect, consider adding lighting options like weatherproof string lights or LED fixtures, which provide a cozy ambiance without sacrificing durability. Weatherproofing tips are essential—make sure your fan and lighting are designed for outdoor use and protected from moisture. Position the fan thoughtfully to maximize airflow across seating areas, and incorporate shade elements like curtains or umbrellas to further cool the space. Additionally, staying informed about AI security developments can help you implement smarter, safer outdoor technologies. With these simple steps, your pergola transforms into a revitalizing retreat perfect for relaxing or entertaining, regardless of the temperature outside.
Maximize Outdoor Enjoyment
With a ceiling fan and thoughtful lighting in place, your outdoor space becomes a comfortable haven for relaxing or entertaining on warm days. To maximize outdoor enjoyment, focus on optimizing lighting placement so it’s both functional and inviting. Position lights to highlight seating areas and pathways, creating a cozy ambiance. Adjust fan speed to suit the activity—higher speeds for cooling, lower for gentle breezes. Here are some tips:
- Place lighting fixtures where they enhance visibility without glare.
- Use adjustable fan speeds to control airflow and comfort levels.
- Combine soft lighting with the fan for a relaxing evening atmosphere.
- Research cost-effective strategies for asset division to better understand budgeting and planning for outdoor upgrades.
Frequently Asked Questions
Can I Install a Ceiling Fan on a Pergola Made of Any Material?
You can install a ceiling fan on a pergola made of various materials, but material compatibility and structural support are key. Confirm your pergola‘s material can handle the weight and vibration of a fan. Strong, sturdy materials like wood or metal usually work well, while lighter or less stable materials may require reinforcement. Always check the pergola’s structural support to safely hold the fan and avoid accidents or damage.
What Is the Maximum Weight Capacity for a DIY Pergola Ceiling Fan?
When considering fan weight limits, you need to make certain your pergola support can handle the ceiling fan’s weight. Most outdoor fans weigh between 15-30 pounds, but check your fan’s specifications. To stay safe, choose a fan with a weight within your pergola’s support capacity, and reinforce the structure if necessary. Properly securing the fan prevents accidents and ensures ideal airflow without risking damage to your pergola.
Are There Specific Types of Fans Recommended for Outdoor Pergolas?
Ever wonder which outdoor fan types are best for your pergola? Choosing the right one is like finding a loyal companion for all seasons. Look for fans specifically designed for outdoor use, made with weatherproof materials that resist rust and moisture. These fans are built to withstand the elements, providing reliable comfort without worry. Opting for a weatherproof outdoor fan guarantees your pergola stays cool, stylish, and functional year-round.
How Do I Prevent Water Damage to the Electrical Connections?
To prevent water damage to your electrical connections, you should use waterproof connectors and weatherproof enclosures. Always make certain connections are sealed tightly, and place wiring inside enclosures rated for outdoor use. Applying outdoor-rated sealant around connections also helps keep moisture out. Regularly inspect your setup for any signs of wear or leaks, and promptly address issues to maintain safety and prolong the life of your outdoor fan installation.
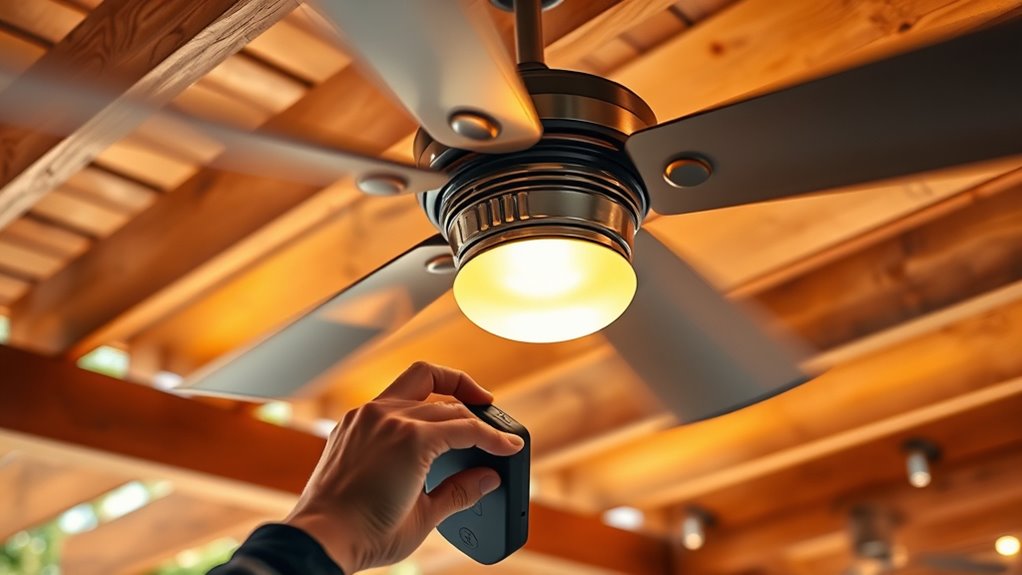
Can I Control the Fan Remotely or With a Smart Device?
Imagine your pergola becomes a command center, where a simple wave or tap controls your fan. Yes, you can control your ceiling fan remotely or with a smart device. Many fans come with built-in Wi-Fi or are compatible with smart hubs, letting you adjust speed, turn it on or off, and even set schedules from anywhere. Embrace this tech upgrade for convenience and enhanced comfort.
Conclusion
Now, with your new ceiling fan humming smoothly, your pergola becomes a beacon of comfort, like a lighthouse guiding you safely through a storm. You’ve become the captain of your outdoor oasis, steering the wiring and mounting with confidence. Every breeze it creates is a gentle wave, inviting relaxation and making your space a true sanctuary. Cheers to transforming your backyard into a cool haven—your DIY skills have turned you into the hero of your own outdoor adventure.